Disclosure: This post contains affiliate links. Thank you for your support!
Have you ever heard of Mr Printables? I discovered his website a few months ago and just adore all of his bright and cheerful designs! They are truly inspiring and when I saw his Easy Sewing Pattern Cards, I just knew I had to make them out of felt! However, I'll admit that there was a hold up on the project when I discovered that cutting out tiny perfect circles was near impossible. And I'm a perfectionist when it comes to stuff like this, so I tried out lots of options, including sacrificing my paper hole punch (which totally has a bent handle now - yeah, you wouldn't think it, but felt is super tough!) and attempting to use a nail (also a fail). So then I went down to the local Jo-Ann's intent on buying a leather hole punch (because if it can cut through leather like butter it is sure to cut through felt, right?), but they did not have any in stock. Then I remembered about Tandy Leather Factory and sure enough they had the one I needed in stock! (And by the way, the people are Tandy Leather Factory are pretty amazing! A few years ago I ordered some Dreamcatcher supplies and when they packaged it to ship they realized I was a local. They refunded me the shipping cost and the manager delivered it himself!)
To make this project, you will need:
Felt - We used regular felt, but if you want these shapes to be extra durable, use wool or stiff felt.
Quilting Pins (these pins are longer than regular sewing pins and work great for felt projects like this!)
Revolving Leather Hole PunchShapes Template - use your own or Mr Printables Easy Sewing Pattern Cards
You will also need:
Yarn Needles - Plastic
Thread - We always use DMC Embroidery Floss
These sewing shapes came out perfect and my kids love them! They are perfect for fine motor play, shape recognition, color recognition, and when you aren't using them to sew you can use them on your felt board!
I printed out the patterns, cut them out and then traced the shapes onto felt using a disappearing ink pen. I then cut out each shape. Be sure to keep the paper patterns on hand as you will need them again!
Pin the pattern to the felt shape and punch out the holes where they are marked. I used the size 5/32" punch, because that was the perfect size for our yarn needles. Take your time and be sure to press until you hear the click. If you don't hear a click, it didn't cut through all the way, so press again firmly.
This tool would normally punch the leather right out, however it doesn't for felt.
So once I was finished punching the holes, I turned the felt over and used a pair of blunt tweezers to pluck each hole out. Tedious, I know, but definitely worth it if you want clean holes!
Pin.
Punch.
Pluck.
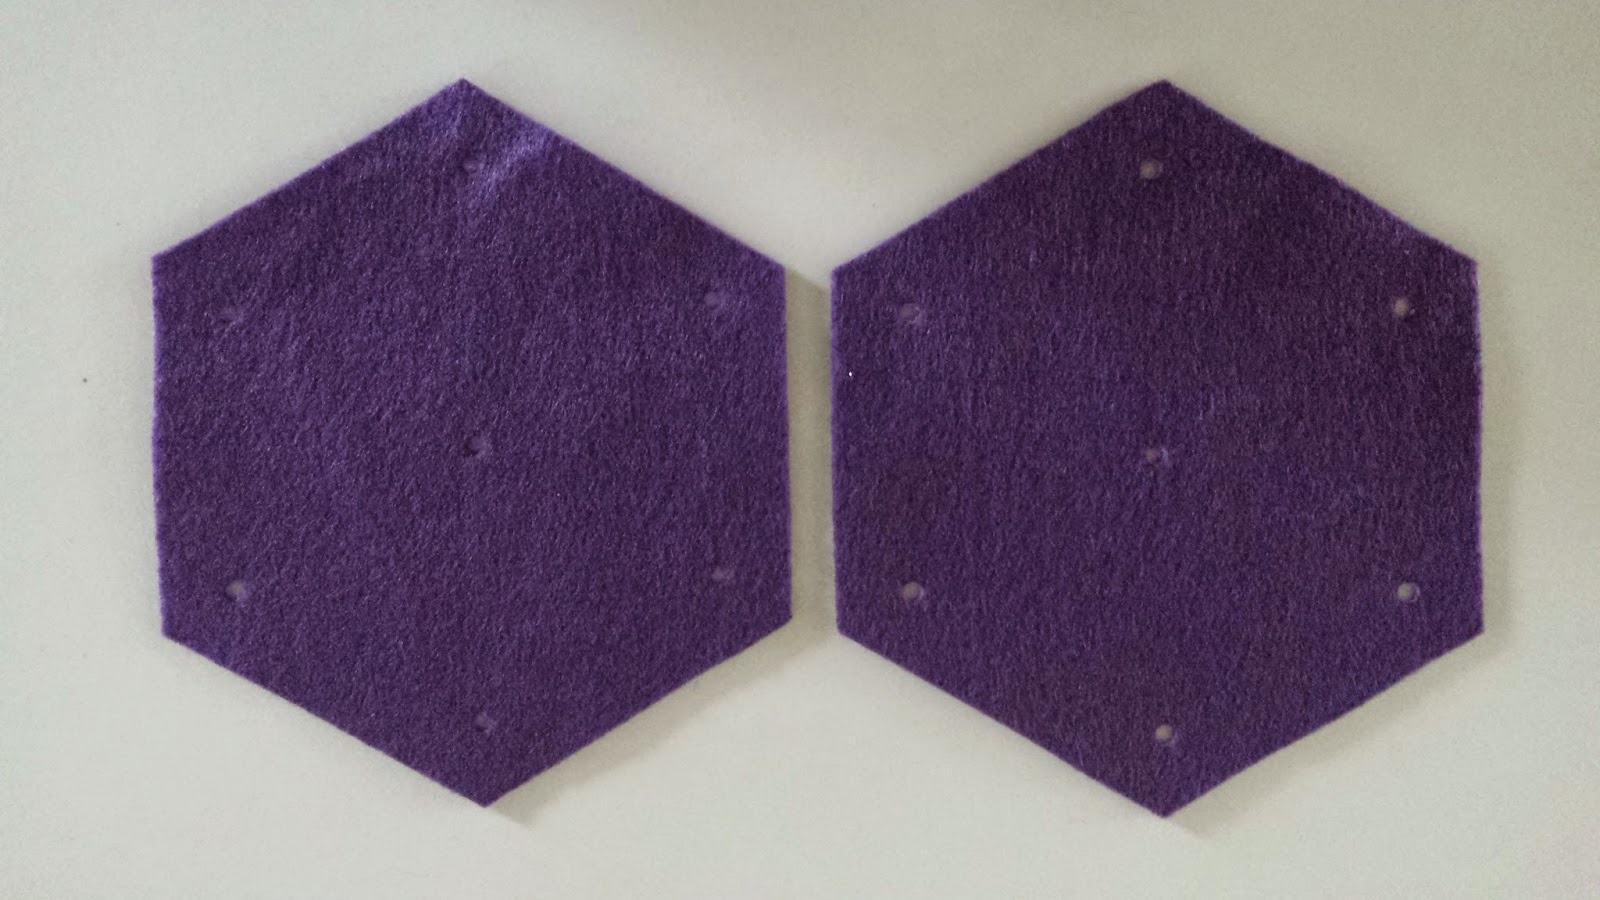
Here's how ours came out!
The kids now have lots of interesting sewing shapes!
Next you'll need to cut off 2-3 feet of DMC Embroidery floss (use all 6 threads). Slip the needle on and bring it to the middle. Tie off the ends.
You can use more or less thread, depending on your preference. My kids prefer the extra thread so they can create lots of patterns by interlacing the holes.
To store them, we are currently using this adorable case! Bean will likely add in her plastic canvas shapes and some large beads, but for now she is content with these felt shapes!
 |
| You can store the yarn needle in a cork, like Bean does! |


No comments:
Post a Comment