Saturday, June 14, 2014

DIY Felt Sewing Shapes


Disclosure: This post contains affiliate links. Thank you for your support!

Have you ever heard of Mr Printables? I discovered his website a few months ago and just adore all of his bright and cheerful designs! They are truly inspiring and when I saw his Easy Sewing Pattern Cards, I just knew I had to make them out of felt! However, I'll admit that there was a hold up on the project when I discovered that cutting out tiny perfect circles was near impossible. And I'm a perfectionist when it comes to stuff like this, so I tried out lots of options, including sacrificing my paper hole punch (which totally has a bent handle now - yeah, you wouldn't think it, but felt is super tough!) and attempting to use a nail (also a fail). So then I went down to the local Jo-Ann's intent on buying a leather hole punch (because if it can cut through leather like butter it is sure to cut through felt, right?), but they did not have any in stock. Then I remembered about Tandy Leather Factory and sure enough they had the one I needed in stock! (And by the way, the people are Tandy Leather Factory are pretty amazing! A few years ago I ordered some Dreamcatcher supplies and when they packaged it to ship they realized I was a local. They refunded me the shipping cost and the manager delivered it himself!) 

To make this project, you will need:
Felt - We used regular felt, but if you want these shapes to be extra durable, use wool or stiff felt.
Quilting Pins (these pins are longer than regular sewing pins and work great for felt projects like this!)
Revolving Leather Hole Punch or something to punch a hole through felt
Shapes Template - use your own or Mr Printables Easy Sewing Pattern Cards

You will also need:
Yarn Needles - Plastic or Metal - Both are fine for preschoolers, as the tip is blunt and the eye is large enough that they should have no issue threading the needle themselves.
Thread - We always use DMC Embroidery Floss

These sewing shapes came out perfect and my kids love them! They are perfect for fine motor play, shape recognition, color recognition, and when you aren't using them to sew you can use them on your felt board!

I printed out the patterns, cut them out and then traced the shapes onto felt using a disappearing ink pen. I then cut out each shape. Be sure to keep the paper patterns on hand as you will need them again!


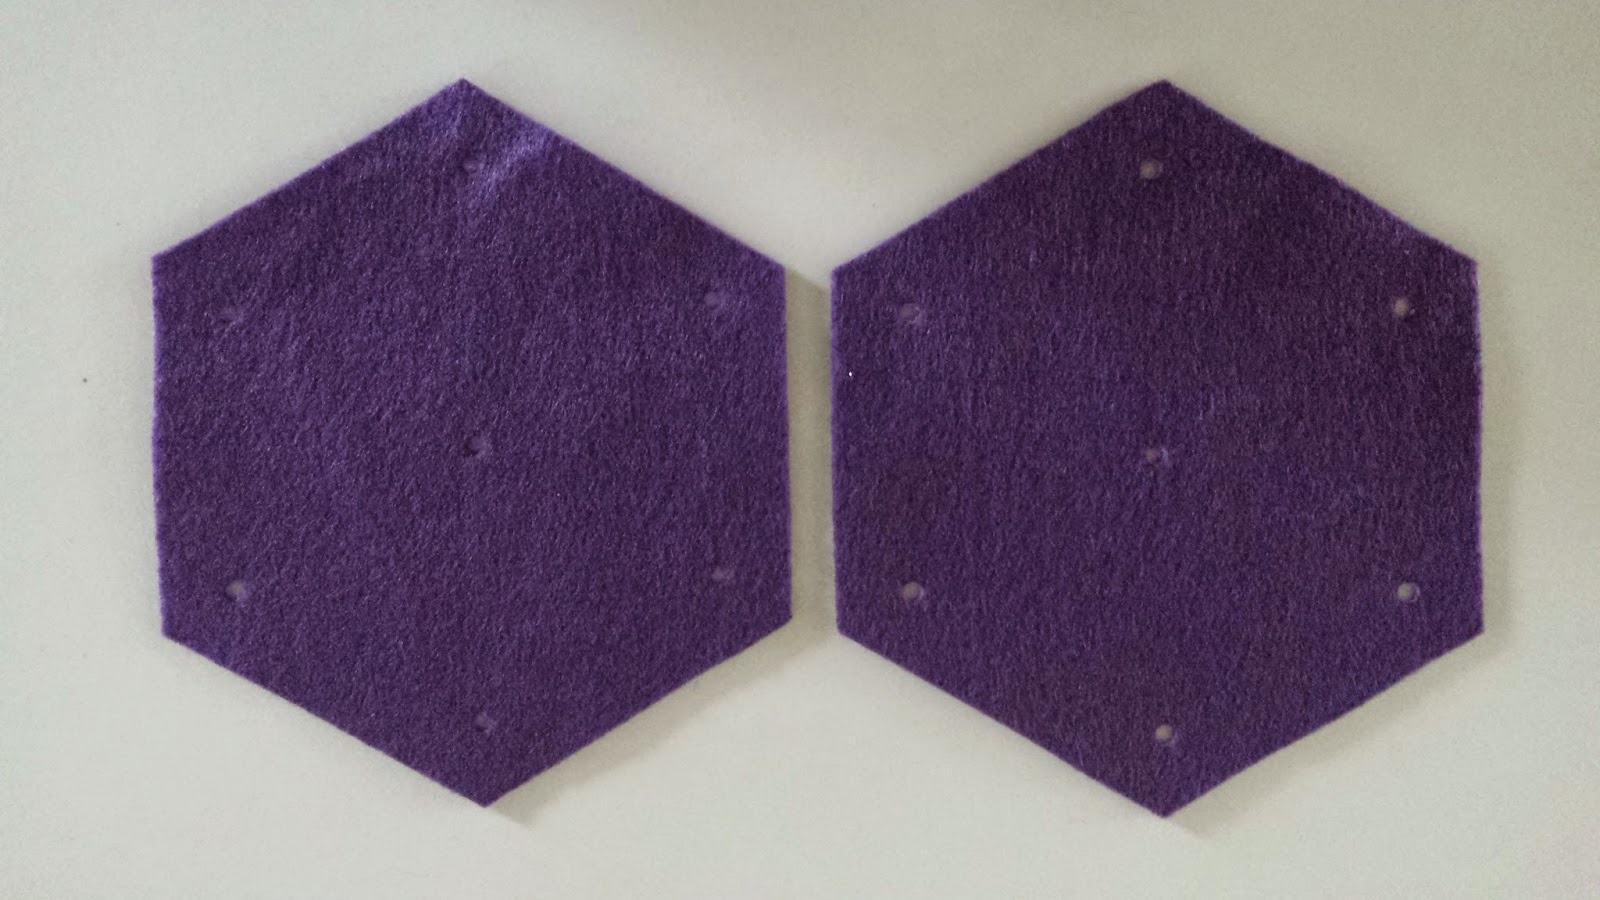
Pin the pattern to the felt shape and punch out the holes where they are marked. I used the size 5/32" punch, because that was the perfect size for our yarn needles. Take your time and be sure to press until you hear the click. If you don't hear a click, it didn't cut through all the way, so press again firmly.


This tool would normally punch the leather right out, however it doesn't for felt.


So once I was finished punching the holes, I turned the felt over and used a pair of blunt tweezers to pluck each hole out. Tedious, I know, but definitely worth it if you want clean holes!


Pin.


Punch.


Pluck.


Easy as that! :)

Here's how ours came out!


The kids now have lots of interesting sewing shapes! 

Next you'll need to cut off 2-3 feet of DMC Embroidery floss (use all 6 threads). Slip the needle on and bring it to the middle. Tie off the ends. 


I attached a bead at the end so the knot doesn't accidentally pull through the felt. Munchkin picked out the Mickey bead, isn't it cute?


You can use more or less thread, depending on your preference. My kids prefer the extra thread so they can create lots of patterns by interlacing the holes. 


To store them, we are currently using this adorable case! Bean will likely add in her plastic canvas shapes and some large beads, but for now she is content with these felt shapes!

You can store the yarn needle in a cork, like Bean does!

If you enjoyed this post, follow along with us on Facebook and Pinterest or subscribe by email or Bloglovin'!

Friday, June 13, 2014

Genuinely Simple Comfrey Cream and Lotion Bars Review


Disclosure: I received these products for free in exchange for my honest review. 
All opinions are entirely my own.

We were so fortunate to come across Laura and her small company Genuinely Simple (website coming soon)! Can I just say, "Wow!" We were so blown away by her amazing comfrey creams and lotion bars and are so thrilled to share our experiences with them!

But first, here's a little bit about Laura, her company and comfrey!

Laura first discovered the natural healing properties of comfrey while she was working in Australia alongside Barbara O’Neill, who is a naturopathic doctor. She fell in love with the herb and decided to share this miraculous herb with the world by creating creams and lotion bars! While this is a small business, I know Laura will go far! She has worked so hard to create these products and has been selling them all across the country! She has sold over 500 units and with contributions to her campaign on IndieGoGo, she will have the resources to produce more and launch a website!

Comfrey is a plant that is rich in calcium, potassium, protein, vitamins A, C and B12 and has a naturally occurring chemical in its leaves called Allantoin. Allantoin helps with cell growth and bone strengthening while depressing inflammation. Comfreys healing properties include being analgesic and anti-inflammatory and is used in herbal medicines for sprains, joint stiffness, joint pain, muscle pain, and basic wound care. Natives gave this plant the nickname "knit-bone" and for good reason! Comfrey can also help with arthritis, eczema, rashes, poison ivy and so many other skin irritants! So basically, if you have a bone or skin problem, this is the herb for you! 

Here's everything that I received to review and I love every single one of them! 

3 ~ 1.5 oz Multi-Use Comfrey Healing Salve (Lavender, Peppermint and Original)
1 oz Comfrey Lotion Bar
2.5 oz Comfrey Lotion Bar
2 sample Comfrey Creams (Lavender and Peppermint)

Ok, well technically I have not used the sample creams yet. Those are safely tucked in my purse for a day in the unknown future when I will surely need them. But, since they are the same creams that are in the tubes, I can safely say that they are equally amazing! My kids both prefer the lavender cream, while I personally love the peppermint cream. To give you an idea of what they smell like, imagine walking into an herb garden and just enjoy the smell around you. If that's not a smell you love, then I can't help you. But I can assure you it's simply amazing. 


I use the Lavender Comfrey Cream primarily on my son's face, because he had an accident a few years ago that has left his face extremely sensitive to the sun and heat. It has been great to use after taking him to the park where there is barely any shade. I simply wash off the sunscreen and rub on a bit of the comfrey cream and he's good to go. Even with sunscreen on his cheeks they still turn red and heat up. I've noticed a difference between using the comfrey cream and not using it, and I can see a clear difference. Without it his skin stays red and inflamed for several hours, typically going back to normal by bedtime when the temperature has dropped. With the comfrey cream, within an hour his face looks relieved and no longer looks irritable. And because his skin is so sensitive, I always try to be very careful with what I use on him, because I would not want to cause his skin to become irritated again. I love that this is a cream that is safe to use on him, because it's organic and plant-based! He has even told me that he likes this cream much more than the old cream we used! I am so glad we tried out this product and will continue to use it to heal his skin!

Don't worry, we didn't waste any of it!

It's really wonderful that Laura paired lavender and peppermint with comfrey, because they are all known to be wonderful healing plants!

Lavender is:
- anti-septic
- anti-bacterial
- has anti-inflammatory properties, which is perfect for minor cuts and burns, as well as bug bites!
- can aid with headaches, sprains, sores and can even be used to repel insects!

Peppermint can:
- ease headaches when applied to the forehead
- ease muscle pain and skin irritants
- bring relief to respiratory infections when applied to the chest
- relieve cramps
- is a known stimulant and relaxant, so while it is stimulating your circulation it is also relaxing your nerves.

Now whenever we take walks or go to the park to play, I keep a container of the Lavender Comfrey Cream in my bag. The bottles are compact (small enough to fit in a pocket) and have a convenient loop at the end so you can attach a keychain clip! We have used the Lavender Comfrey Cream on bug bites and cuts from falling. We still wash the cuts with water and dry it before applying the comfrey cream, but it is so convenient to have on hand!


One major bonus: You can take them anywhere! Are you going camping or fishing? Taking a walk in the woods or on the beach? Strolling through a city or visiting Grandma's? Going to your kids' sports game or simply playing outside? Because the healing properties are so versatile there are many reasons why you will want to have them on hand! The Comfrey Cream and Lotion Bars are perfect for parents and children, since the ingredients are gentle enough to use even on babies skin! They have so many wonderful uses for healing, including scalds, dry skin/scalp, diaper rash, eczema, bug bites, minor cuts and burns.

As someone who loves natural remedies and recipes for healing, we think this product is perfect! However I don't have the time or resources to make my own creams and lotion bars. So I'd be one of the many lining up to purchase this product!

If you are interested in helping Laura fund her campaign, visit IndieGoGo and check out the perks for being a backer! Her campaign ends on July 3rd, 2014. 

Be sure to stop by Laura's Facebook and Twitter pages!

If you enjoyed this post, follow along with us on Facebook and Pinterest or subscribe by email or Bloglovin'!

Wednesday, June 11, 2014

Sensory Art Mirror Play


Disclosure: This post contains affiliate links. Thank you for your support!

This week's Toddler Series theme is Mirrors! We decided to focus on sensory play with scientific elements! As many of you probably know, baking soda and vinegar is a very easy science experiment that even toddlers can do! Have you ever tried to use it for art? 


And just in case you have a little one who is not comfortable with certain textures, you can use these wonderful Crayola Window Markers to create art on mirrors! It looks stunning and we absolutely love the Crystal Effects markers!


For this recipe, you will need baking soda, water, white vinegar and food coloring. You will also need a tray with dividers or paint cups, a mixing utensil, a spray bottle and paint brushes. And of course, a mirror! We used a large mirror that we found on FreeCycle and removed it from the frame so we could use it for outdoor activities (I did not want the wood to splinter or erode). My kids were careful not to step on it and we had no accidents, but we may duct tape the sides in the future. 

Once you have the ingredients ready, pour the baking soda into your tray and add just enough water to make it mixable. You want the consistency to be a thick paste, but watery enough to paint with. Add in the food coloring and stir it until the color is thoroughly combined. Next, fill the spray bottle with white vinegar. Then take everything outside and set up the kids around a mirror. We placed the mirror flat on the ground so the baking soda paint wouldn't run. 


First they explored the spray bottles and worked on their fine motor skills!


Then they slowly started to add the baking soda paint. They were delighted to see the reactions!


Munchkin became quite the painter and even painted and sprayed at the same time!


Bean let Munchkin do most of the painting and enjoyed spraying the vinegar and watching the bubbles fizz and "clean" the mirror. 


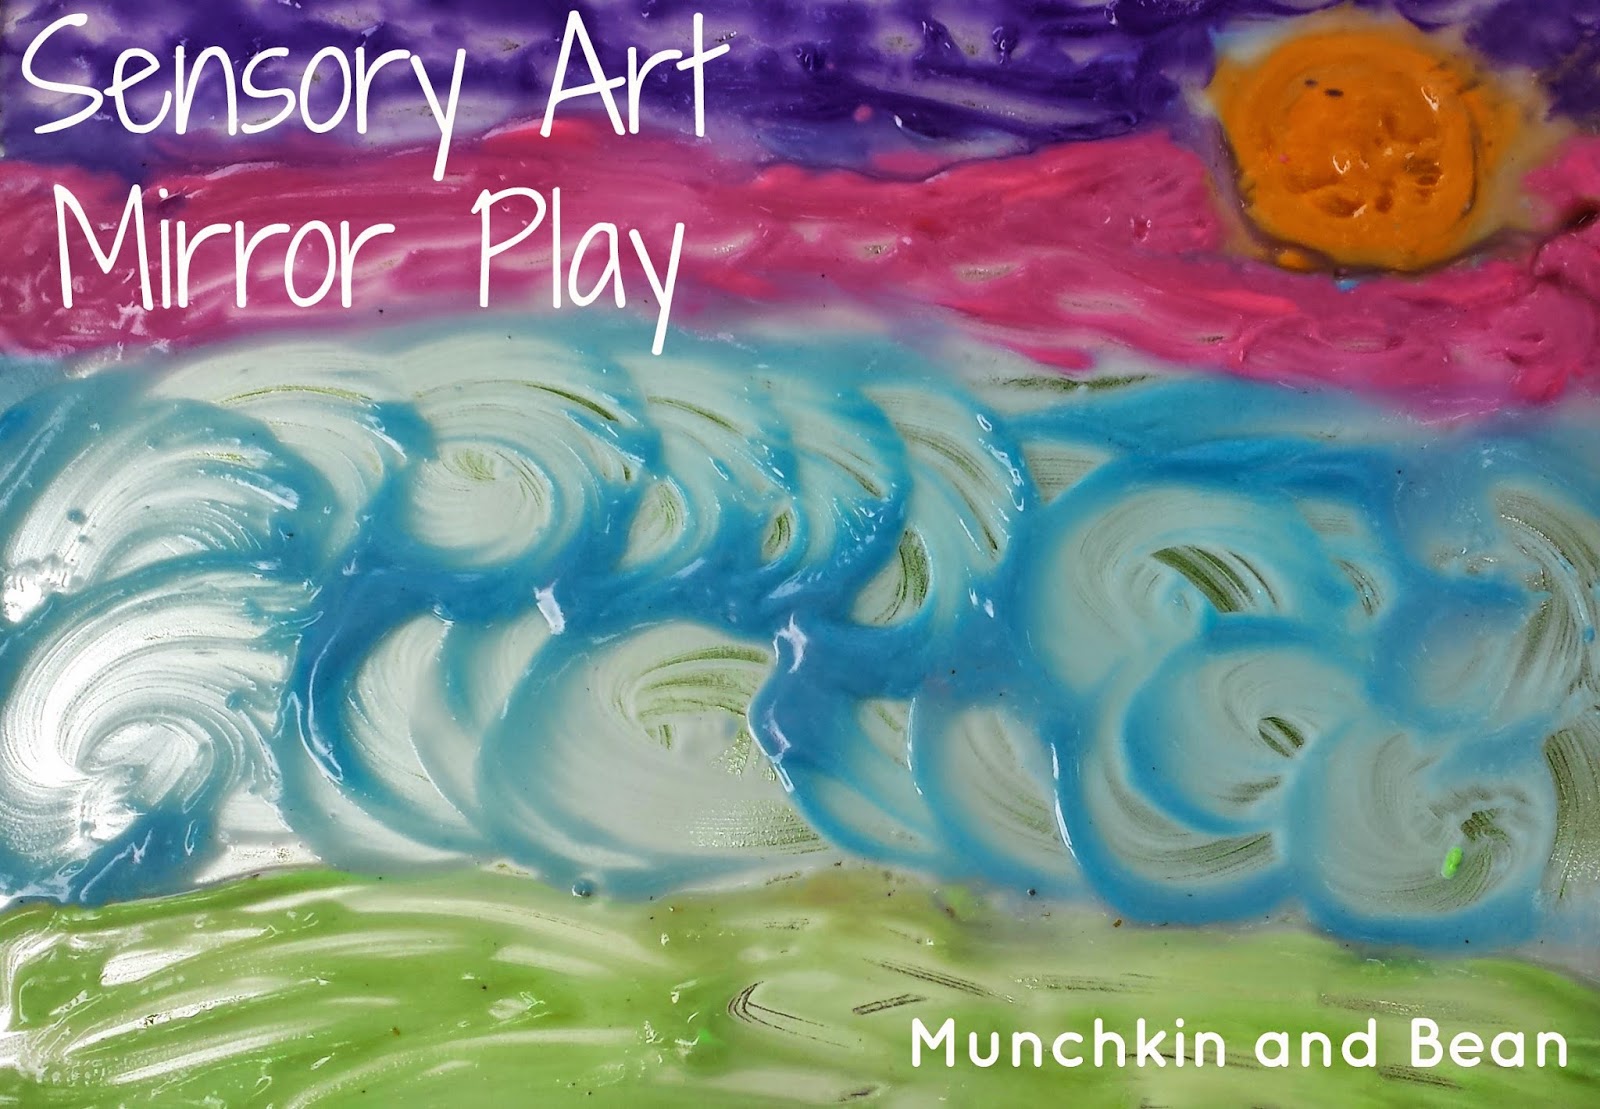
Munchkin and I painted this lovely scene! He focused on the sun and the purple and pink sky, while I painted the grass and we both swirled together the blue sky. 


Then he literally spent the next hour spraying it here and there and watched the reactions.


Then when he ran out of vinegar he dropped the bottle and picked up a paintbrush and started spreading the colors all around until everything was purple!


When you are done and if you have leftover paint, simply store it away until you need it again! I have successfully stored baking soda paint for weeks with no issues. I just let it dry out and transfer it to an airtight container. Add water when you need it for your next activity! 

So was this a toddler approved activity? It certainly was! My little guy absolutely loved it and has asked to do it again many times since!

Be sure to check out Suzy Homeschooler's fabulous Reversed Text Mirror Play activity!

If you enjoyed this post, follow along with us on Facebook and Pinterest or subscribe by email or Bloglovin'!
Related Posts Plugin for WordPress, Blogger...