
Not pictured (because they haven't been started yet) are Thomas the Train, Frozen, and Minnie Mouse inspired felt play mats. My goal for the Frozen play mat will be two-sided, with a winter land scene on one side and a dance hall on the other. The Minnie Mouse play mat will also hopefully be two-sided with a Minnie's Bowtique side and a garden side.
As for the felt play mats that are currently in the works and very nearly done, are the ones pictured below. Most of these are done, except for needing a secondary layer of felt sewn to the bottom. This will not only make the play mats more durable, but it will also hide the stitching on the bottom (and younger children may be curious enough to pull on them). I'll stick with earthy tones for the bottom layer.
Don't mind the unedited photos. :)
I really like these two play mats! I adore the little rocks! I wanted one to be more of a grassy forested area and the other to have some sandy hills.

Initially I was using green thread around the rocks to act as grass. But the effect wasn't exactly what I was hoping for.


I didn't want to unstitch them though, so I continued and added some cute French knots as tiny flowers.

It doesn't look terrible. And I love the little rocky path!

It was then that I decided to practice needle felting and added a few details... and some more French knot flowers!

 as grass! (So glad JoAnn's had it in stock!)

I personally think it looks great! I really wish I had it for the first play mat, but oh well. I now have it to add to the other play mats.

I simply pinned it along the edge and used a whip stitch. I didn't stitch over the yarn though. I connected it by stitching straight through it. This way it can't be as easily pulled out.

I love it!

Then I decided to make some felt logs (and yes, I often just make stuff up as I go, as I don't usually start with a strict plan). I simply cut out dark brown and tan strips of felt and rolled them up. I used a pin to keep them in place. Some I needle felted together (surprisingly durable) and the others I stitched.

I even made a hollow log!

It was at this point that it was nearly bedtime for the kids and they used that as an excuse to suddenly need to play and swarmed me with their Safari Ltd. TOOB
 toys. These toys are the perfect size for felt play mats.

Still swarming...

Super swarmed. :)

But on that note... check out how lovely they look in their new home!

I added a cave with an open back (according to Bean, it's an escape exit) and a flowery meadow. I needle felted around the cave and added some grass and rocks. The flowery meadow is completely needle felted and so is that cute mossy white rock!

Here is the beginnings of a construction site felt play mat for my little nephew who loves trucks! The darker brown is where the packed earth is to form a road. There is also a hole at the bottom. I'll be adding rock mounds, brick piles and a half-built house to act as a truck garage.

So far I have added this grassy area and a few needle felted areas. You can't really tell, but the green circle in the upper left corner is actually a 3D bush. :)

See? I added stitched lines to the hole to make it actually look like a hole (I hope!) and grassy trim around the green patch.


On to the first of two Marvel City play mats... I added a road because many battles take place in the streets.

And a few buildings. I'll likely needle felt clouds and a sun (or sew some on). One special thing that I will add to this play mat are "damage" pieces. So you can add crushed road spots or broken windows. Because let's face it, super heroes rarely consider property damage.

And here is the Dinosaur Train inspired felt play mat. I based the design off a mental image of Buddy's home near the ocean. They live basically on a cliff, with a beach below. It would have been really hard to add that extreme of a difference in height, so I just kept them all at the same level.

I added the Lime Fun Fur Yarn
to the edge of the grassy area. The person who this is for really likes the effects of the fun fur grass!
If you're not familiar with Dinosaur Train, it is about a family of pteranodons and their adopted son, Buddy the T-Rex. They go on many educational field trips on the Dinosaur Train, which can travel to any time. Meaning, of course, that they time travel. Often. Like, almost every episode. So of course that meant they needed a nest. And I took a stab at making a nest completely out of felt scraps. I used mostly medium and dark shades of brown, but did add a few sandy brown and burnt red pieces.

It came out pretty well.

I even added a needle felted egg!

I'm pretty happy with the way it came out.

I also added a cave.

I pinned it in place and needle felted it around the base.

Then I needle felted some mixed green wool around the base and entrance of the cave. We use Dimensions FeltWorks Multi-Color Roving Rolls
 . I picked these up from our local craft store and they are really great! I used a bunch of the other colors to make the flowers in the meadow (the flowery meadow in the pictures earlier in the post).

I love it! So cute!

And even though the Dinosaur Train isn't located right next to their nest, I still added some train tracks to play on. I'm working on a platform to add in the corner for them to wait on. :)

Don loves digging holes, so I'll add a few removable holes for him.

Tiny loves her hollow tree, so I added a hollow log (though it will move once the platform is made). Not exactly a tree, but it will have to do. I do not yet feel confident to make a whole tree. I'll attempt one soon. :)

Also just wanted to note, that I used threads that match the colors of the rocks for the second play mat (first picture below). You can definitely tell the difference. If you look at the picture below that, you can see that green thread was used. I personally like the way the top play mat looks with the matching threads. I always use DMC embroidery floss
- so many colors to choose from and I can always find a perfect match for my felt.
I kind of want to add a toadstool to this one. :)
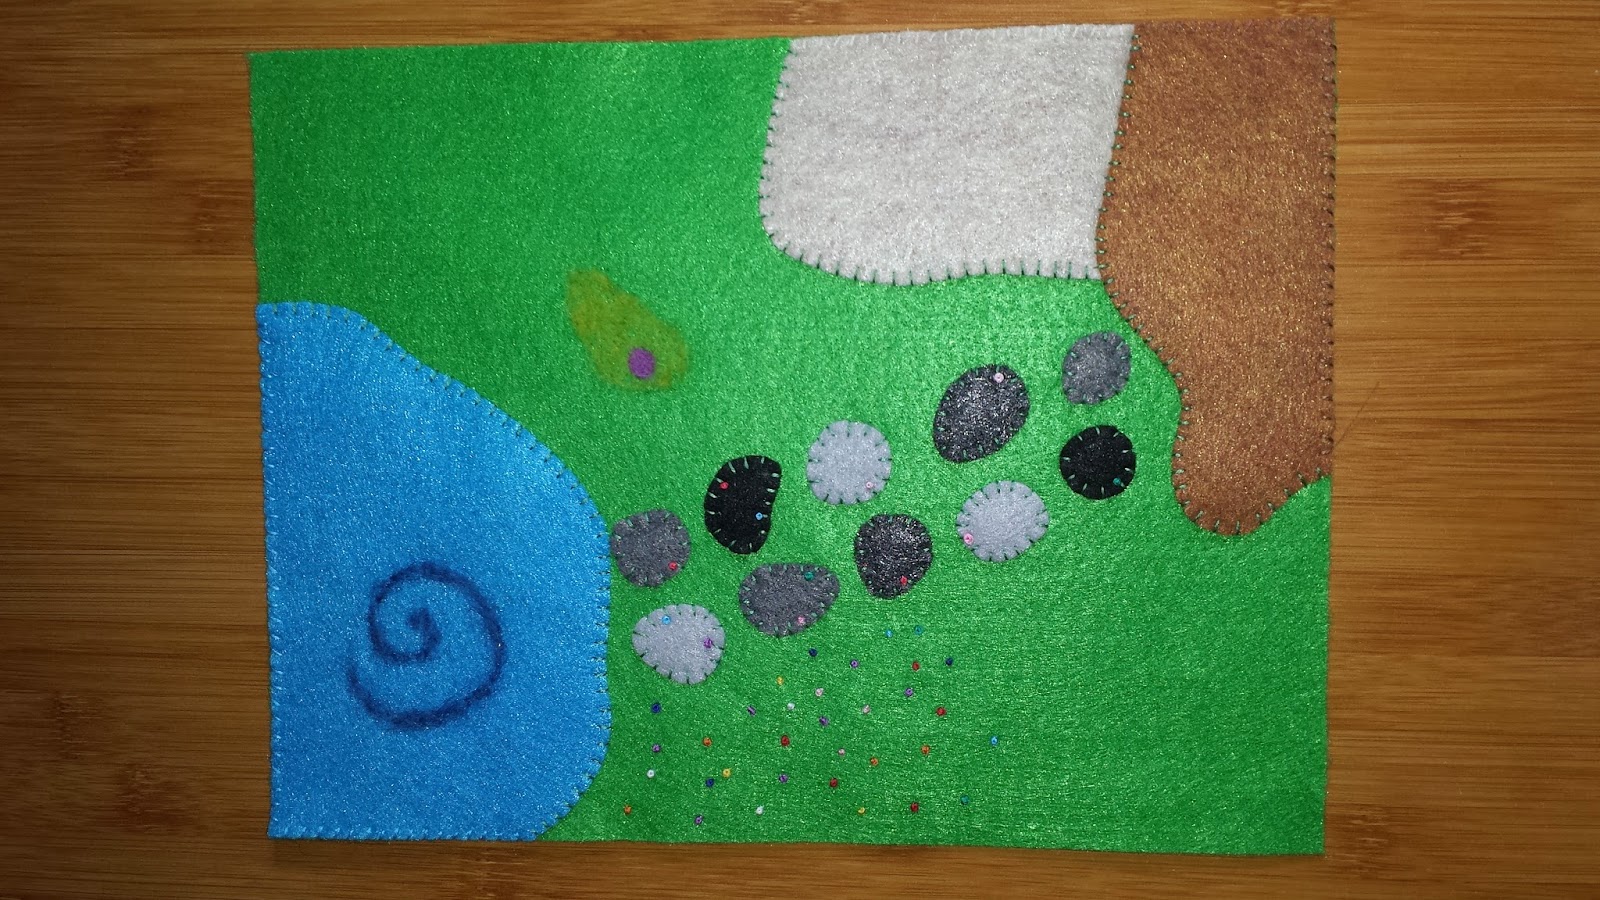
I'll update again once I have more to show of the other felt play mats. Here are the two that need more work: The Marvel City play mat and the second dinosaur play mat.

I'll be adding a 3D volcano to this play mat! And I'll be adding a needle felted stream to that hill. It will go all the way to the lake.

I'll update again once the Frozen, Minnie Mouse and second Marvel City felt boards are started.


 or
 . I also obsessively count stitches (because there is nothing more annoying than a stitch being out of place and absolutely ruining the whole pattern... usually only noticing after hours of work *sigh*) and use my trusty
 to mark every ten stitches. The ink does fade a bit while stitching, but you can keep drawing the line and when you are finished, the ink will disappear on its own.


 and
 . I really liked both of these earthy tones and it came out amazing! The pattern would have come out small had I kept with the pattern, but I actually tried out a new stitch. It's known as the double cross stitch. You basically make a cross stitch and then add a second layer of stitches going across and down the middle. You're also stitching over two, so it will cover the space of 4 cross stitches. (Here are some


