
I've wanted to make a play mat for our train table for quite a while, but I didn't know what material I wanted to use. Considering how much we love felt, I guess it was an obvious choice for us. So I went to our local Jo-Ann's and picked up a few yards of felt (brown, blue and green - you'll see what I'm making with the blue felt in a later post!). Originally the inspiration for this project was the Disney movie Cars. My son adores Mater and Lightning McQueen, so I wanted to make a road map that was inspired by the dusty desert roads from the first movie. One problem, the kids have never seen it! So I wasn't sure if they would like it. I decided to begin making the play mat, but save the reveal for Easter, when I'll be giving it to my son as a gift in addition to the Cars movie.

Disclosure: This post contains affiliate links. Thank you for your support!
I chose a medium shade of brown for the desert. One yard was longer than I needed for the length of the train table, but I needed the extra felt to make the mountains (more on that later!). I buy felt by the yard and am usually lucky enough to get it on sale. So I only paid $2.49 per yard, compared to its usual price of $4.99. That's a bargain! Especially considering that felt sheets range from $.34-.99!

I don't have a dedicated craft space, so I used my living room floor. Since I have pets, I laid down a clean sheet first and then spread out the yard of brown felt underneath. I smoothed it out before placing the train table pieces on top. I made sure everything was lined up before I began cutting. I did not bother to draw a line to cut along, I just gave it a two-inch border and cut freely.
FYI: felt LOVES pet hair, so you may want to invest in a lint brush for this play mat if you have pets.

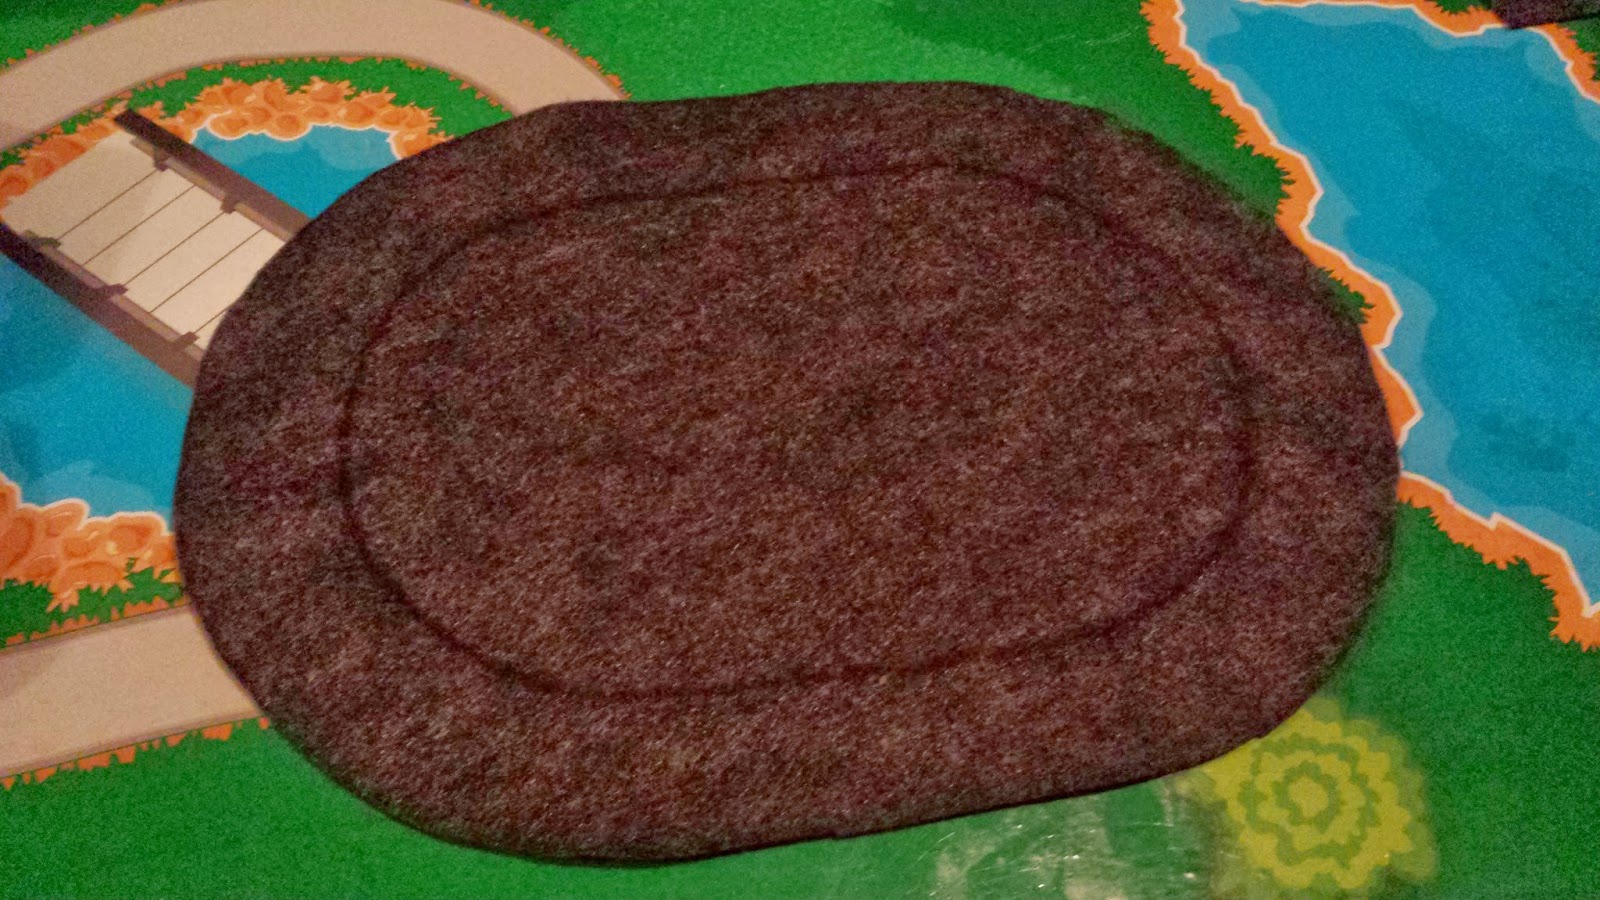
It looked like this when I was finished.

I put the train table pieces back on the table and tucked the felt around the edges. This turned out to be a tight fit, but the felt is smooth and the kids wouldn't be able to pull it up to take it off.


Originally I used a disappearing ink pen

I try not to waste any felt, so I created different tracks that fit inside the other designs.


I waited until I had all the patterns drawn before I began cutting them out. For this project I did not use my favourite tiny felt scissors. I used a regular pair of fabric scissors and they cut a much cleaner line.

I cut out quite a few larger patterns for the road.


Each of them varied a bit, but for most of them I left an end to be connected to another piece. In addition to the large pieces, I also made a handful of smaller pieces that could be used to connect or extend the roads.

As you can see, Munchkin loves the round tracks!

Munchkin noticed that I made a g. :)

At one point I wondered, "would the dollhouse fit around the roads?" I figured it was worth a shot. It'd be great to create a play mat that both the children would love. My daughter loves playing with her Fisher-Price dollhouse

I liked that it fit in the middle, but it might be difficult for Bean to play with the house while it was sideways. So I decided to move it around again.
And aren't those wooden crates cute? I found them at Target for $3 each and added in some brown felt at the bottom to make them look like fences!


It was at this point that I decided I also wanted a green play mat for the train table! Especially if I'd be adding the dollhouse to make it something Bean would want to play with too. Eventually I'd finish the brown play mat and it would be a desert wonderland! But for now, I wanted to create a "spring" themed play mat. It will be warm some day...
I took off the brown felt and used the same process to cut and tuck in the green felt. It will need to be ironed to remove the crease from being folded at the store.

I added on some road pieces to see how it looked and completely loved it! The roads even look like a tractor!

I added a few different cars to see how well they fit. My son especially loves his Safari Ltd On the Road TOOB

I ended up removing the big road circle and added the dollhouse, with the inside of the house against the edge of the table. Bean had ample space to play with her dollhouse and loved the way it was positioned. We pretended they lived on a dead-end street. We'll have to make a "driveway" soon.

I began adding farm animals, trees, road signs and people. These animals are from the Safari Ltd Down on the Farm Mega TOOB

I am excited that I decided to go with a farm theme, because it gives me an excuse to finally make some "farm land" which I have been wanting to do for a few weeks!

I started adding in some small details here and there... added a duck pond...

And then a small beach for the duck pond.

We had this other corner that was pretty empty and I wasn't sure what to do with...


The palm trees looked out of place, but oh well! They made the pond look cozy!

For those of you not familiar with Safari Ltd. TOOBS, here is a picture to show you the difference between the size of their regular figures (the horse on the left) and their TOOB animals (cows on the right). The small toob animals are the perfect size for preschoolers and older kids, but my toddler never had any problems with them.

I put the pigs back in their pen and added in some mud! I plan to sew or glue layers to the mud to add some dimensions and make a feed bin.

I think it looks lovely and homey! I worked on this at night and couldn't wait to show the kids in the morning... They rushed right over and started playing! I had a happy mommy moment. :)

Even without the house and animals, it's still a fun mat to just play with the roads and a few cars! (Also, beware of cats! They will be all over this felt! We have to cover this up at night so they leave it alone.)

My plan is to continue working on this and steadily add more things for them to play with. So far I'm working on a few plots of farm land (which will have removable vegetables), a few feed bins, trees and bushes (the kids have specifically requested a blueberry bush!), mountains and rocks. I'm sure the list will keep growing! Please let me know in the comments if you would like to see anything in particular!
Future felt plans ~
I plan to make a camping set for the summer, which will include a tent, sleeping bag, fire and spare logs, marshmallows and hot dogs on sticks and other goodies. Possibly a flashlight and lamp, if I can manage to make them doll-sized! How does that sound? Let me know! Thanks!
If you enjoyed this post, follow along with us on Facebook and Pinterest or subscribe by email or Bloglovin'!

No comments:
Post a Comment