
My focus for this Christmas was to make everyone a handmade gift. For the children I made felt play mats and for the adults I made framed cross stitch patterns. I used shadowbox frames, which not only look awesome and unique, but they work well for cross stitch projects because they won't crush the stitches between the cardboard back and glass. With the shadowbox frame, there is plenty of space between the stitches and the glass. And you can even get more creative by adding little figures, cardstock cut-outs, or whatever other neat things you could add inside the frame. They would also work great for cross stitch projects that add beadwork into the mix.
Disclosure: This post may contain affiliate links for your convenience.

The shadowbox frames
It wasn't until I got home that I realized I forgot painters tape! So I just cut out a piece of scrap paper and covered the glass. After the first two frames, I scrapped the paper and just painted carefully near the glass. I used a bamboo skewer to scrap off any paint that ended up on the glass once it was completely dry.


I painted two coats on each frame, letting the paint dry completely between coats.


I covered my new craft table (yay, finally a dedicated craft space!!) with packing paper to protect the surface.

Once all of the frames were finished, I set them aside to dry while I finished up the cross stitch patterns and trimmed the excess fabric. I used 18 count Aida cloth and DMC Oatmeal Linen
 .
.


I love the colors I used for this pattern! I found it on Pinterest and the pattern called for lime green and white. I used two shades of purple and light green. The free Keep Calm and Stitch pattern can be downloaded from Cross-stitching.com (though you may need to create a free user account).
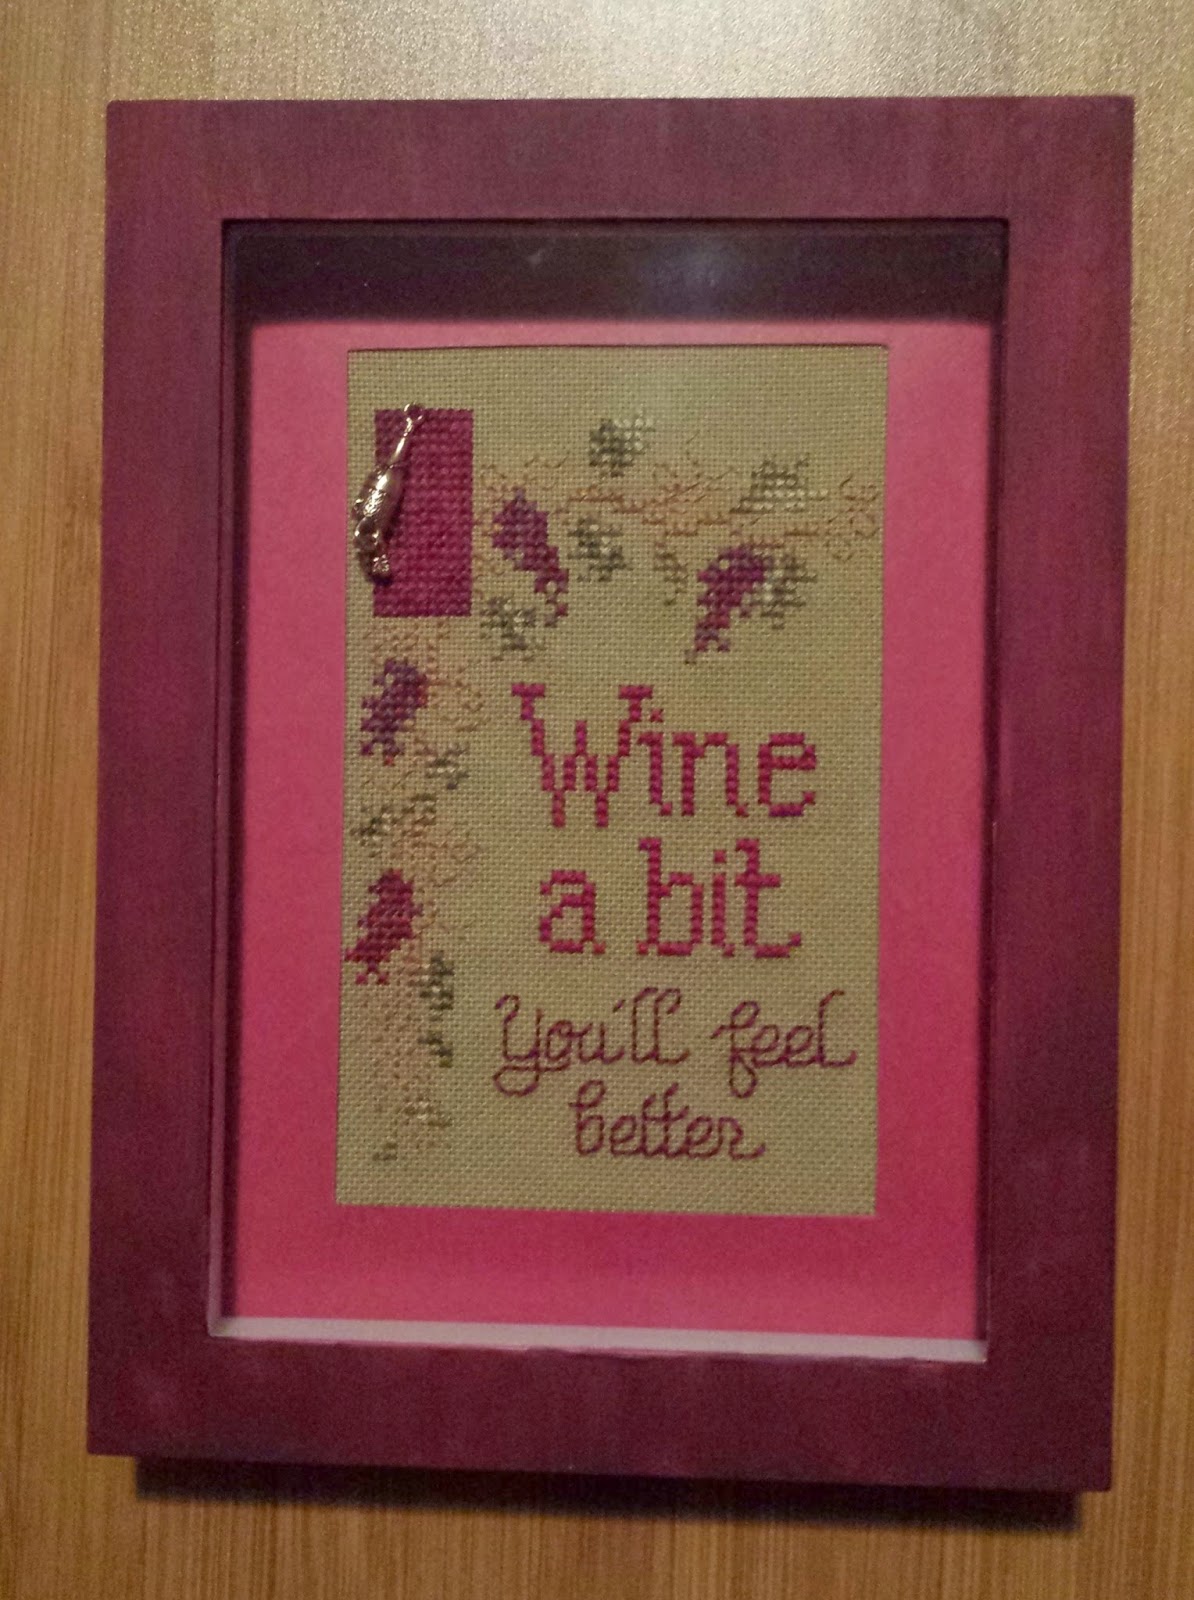
I bought the Sue Hillis Wine A Bit pattern from 123Stitch.com. I chose a shade of wine colored scrapbook paper to use as a border around the pattern.

I used Self-adhesive Mounting Board


I didn't add a border to the Merry Christmas pattern. The pattern is black and white, but I stitched Merry using a dark red, Christmas a dark green and the snowflakes an ice blue.

This deer pattern was my favorite to stitch. It was also black and white, so I chose a green variations thread for the forest (the colors gradually change, though it's hard to tell in the pictures), dark brown for the buck and light brown for the doe. In the original pattern, there was a stitch space left open where the eye would be on the buck, but I felt it looked better this way.

I paired this pattern with a scrapbook paper of a forest. I moved the pattern around until I found a grouping of trees that I liked around the pattern and then I cut it out.

I chose a sort of purple tie-dye scrapbook paper for the Cupcake pattern.

Here's what they look like in the frames! I noticed that the lighter paints look much better covering the white frames compared to the darker colors, so in the future I'll use a brown or black frame for those.


And last, but not least, the stag pattern! Originally I had planned to make this into a pillow, but that did not work out. So instead I framed it. Instead of a paper border, I used a dark brown silk ribbon. It looks pretty awesome!

No comments:
Post a Comment